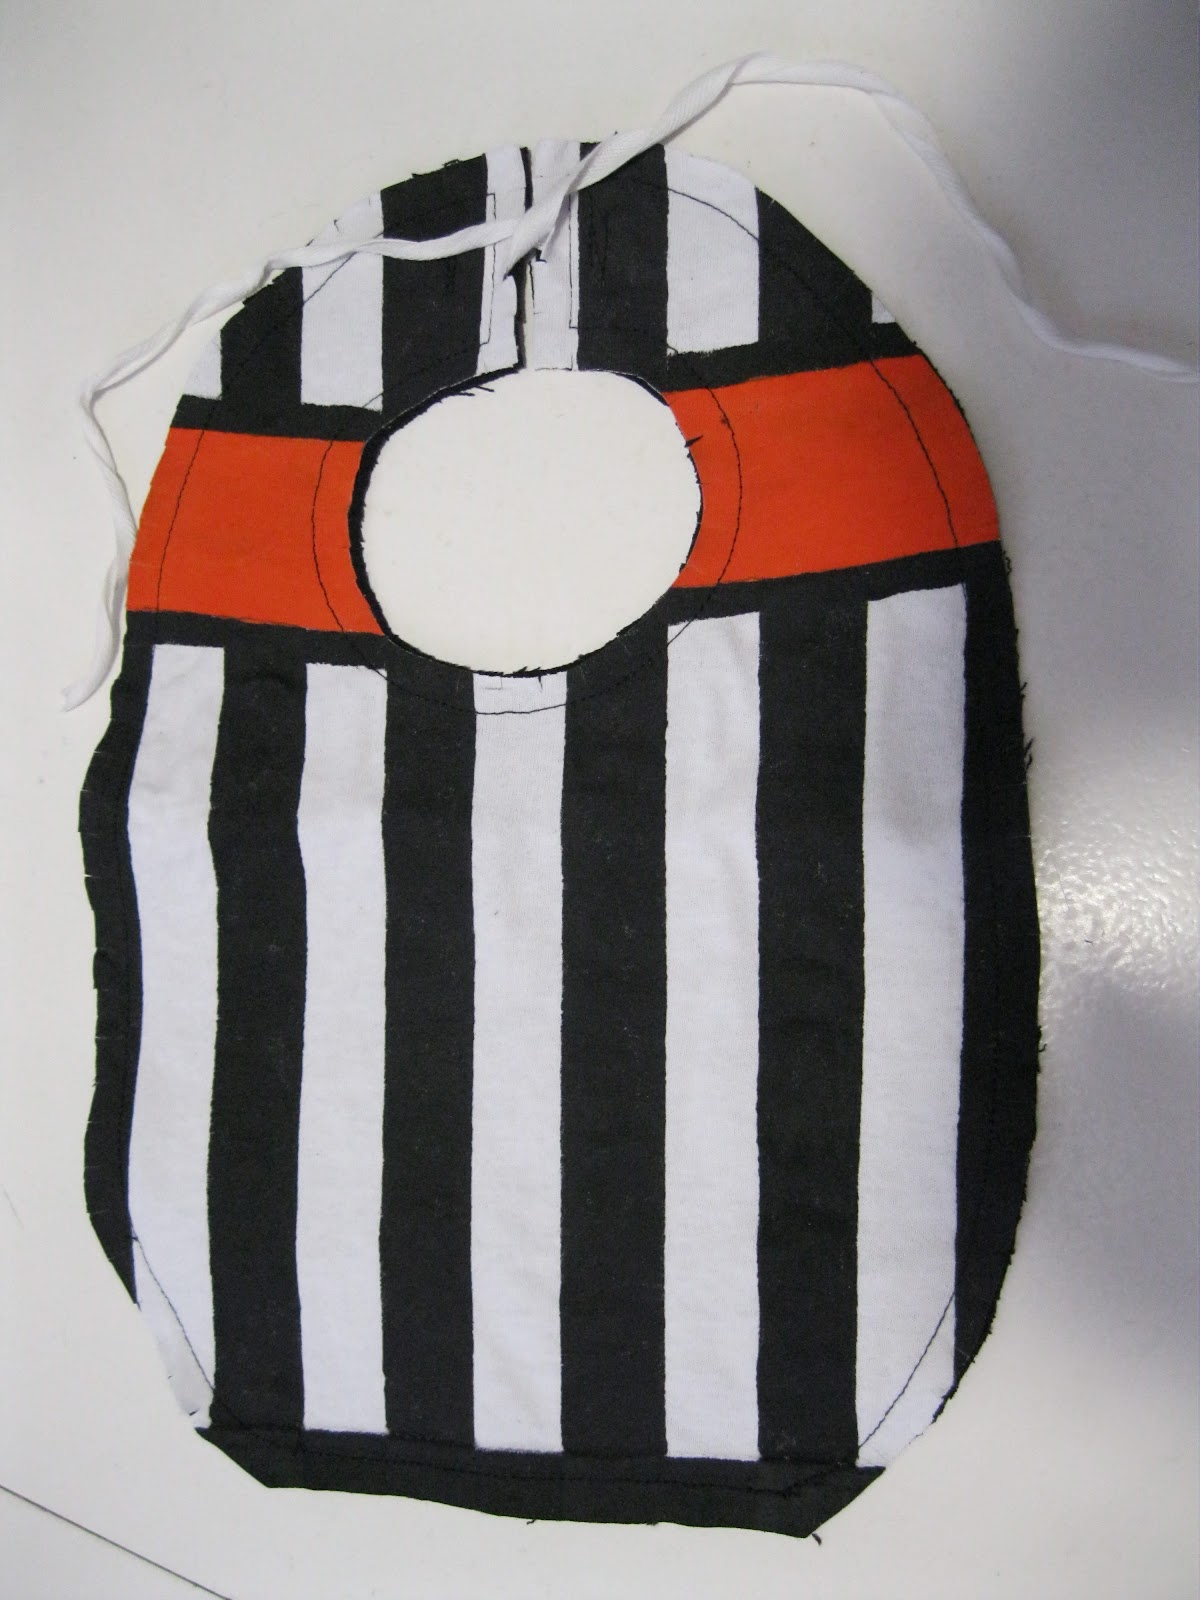
Ever wondered how you could create your own referee shirt without breaking the bank? Well, buckle up, because we’re diving deep into the world of DIY referee shirts. Whether you’re a sports enthusiast, a casual fan, or just someone who loves crafting, this guide has got you covered. Crafting your own uniform isn’t just about saving money—it’s about personalizing and owning your style on the field.
Creating your own referee shirt might sound intimidating at first, but trust me, it’s way easier than you think. With a bit of creativity, some basic sewing skills, and a few tools, you’ll have a custom-made uniform that’s as unique as you are. Plus, who doesn’t love the satisfaction of making something with their own hands?
Before we get into the nitty-gritty, let’s talk about why DIY referee shirts are such a big deal. In today’s world, where everything is mass-produced, having something that reflects your personality is a breath of fresh air. And hey, it’s not just about looking good—it’s about feeling confident and standing out on the field.
Read also:Unlock The Power Of Remoteiot Vpc Ssh Raspberry Pi With Windows 10 Free Download
Why DIY Referee Shirt?
Let’s be real, store-bought referee shirts can be expensive, and sometimes they just don’t fit right. That’s where DIY comes in. Making your own referee shirt gives you control over every detail, from the fabric to the design. Plus, you can add those little touches that make it truly yours.
Here’s why DIY referee shirts are worth the effort:
- Cost-effective: You can save a ton of money by using materials you already have or buying affordable ones online.
- Customizable: Want a specific color or pattern? Go for it! The possibilities are endless.
- Sustainable: By making your own shirt, you’re reducing waste and supporting eco-friendly practices.
- Personal touch: Add your name, team logo, or any other detail that makes it uniquely yours.
So, are you ready to take the plunge? Let’s dive into the steps to create your very own referee shirt!
Tools and Materials You’ll Need
Before you start crafting, make sure you have all the necessary tools and materials. Having everything ready will save you time and frustration later on. Here’s a quick rundown of what you’ll need:
Basic Materials
- Shirt fabric: Choose a breathable material that’s comfortable to wear during games.
- Iron-on transfers: Perfect for adding logos, numbers, or names to your shirt.
- Embroidery thread: If you want to get fancy, embroidery can add a professional touch.
- Seam ripper: In case you make a mistake, this tool will be your best friend.
Essential Tools
- Sewing machine: While not mandatory, it’ll make the process much faster and easier.
- Scissors: A good pair of fabric scissors is crucial for precise cuts.
- Measuring tape: To ensure the perfect fit, measure yourself before cutting the fabric.
- Iron: Essential for pressing seams and applying transfers.
Now that you’ve got everything you need, let’s move on to the fun part—designing your shirt!
Designing Your DIY Referee Shirt
Designing your referee shirt is where the magic happens. This is your chance to let your creativity shine and create something that truly represents you. Here are a few tips to help you get started:
Read also:Why Joinwe Will Writecom Is Your Ultimate Solution For Writing Needs
Choosing the Right Colors
When it comes to referee shirts, traditional colors like black, white, and blue are always a safe bet. However, don’t be afraid to experiment with brighter colors if that’s your style. Just make sure the colors you choose are visible and easy to see on the field.
Adding Personal Touches
One of the best things about DIY referee shirts is the ability to add personal touches. Whether it’s your name, team logo, or a favorite quote, these details can make your shirt stand out. Consider using iron-on transfers or embroidery to add these elements.
Remember, the design is all about you, so don’t be afraid to think outside the box!
Step-by-Step Guide to Making Your DIY Referee Shirt
Now that you’ve got your materials and design ready, it’s time to start crafting. Follow these simple steps to create your very own referee shirt:
Step 1: Measure and Cut
Using your measuring tape, take accurate measurements of your chest, waist, and shoulders. Transfer these measurements to your fabric and cut out the pieces you’ll need for your shirt.
Step 2: Sew the Pieces Together
With your sewing machine or by hand, sew the pieces of your shirt together. Start with the sides, then move on to the sleeves and collar. Take your time and make sure each seam is neat and secure.
Step 3: Add Finishing Touches
Once your shirt is sewn together, it’s time to add those personal touches. Use your iron-on transfers or embroidery thread to add logos, numbers, or names. This is where your shirt really starts to come alive!
Congratulations, you’ve just made your very own referee shirt! But wait, there’s more—let’s talk about how to care for your creation.
Caring for Your DIY Referee Shirt
Now that you’ve put all that effort into making your shirt, it’s important to take care of it properly. Here are a few tips to keep your DIY referee shirt looking great for years to come:
Washing Instructions
Always wash your shirt inside out to prevent fading and wear. Use cold water and a gentle detergent to avoid damaging the fabric. If you’ve added iron-on transfers or embroidery, avoid using bleach or harsh chemicals.
Storing Your Shirt
When not in use, store your shirt in a cool, dry place. Avoid folding it too tightly, as this can cause creases and damage the fabric. If possible, hang it up to keep it looking fresh.
With a little care, your DIY referee shirt will remain in top condition and ready for action whenever you need it.
Common Mistakes to Avoid
Even the most experienced crafters make mistakes from time to time. Here are a few common pitfalls to watch out for when making your DIY referee shirt:
Mistake 1: Not Measuring Properly
One of the biggest mistakes people make is not taking accurate measurements. This can lead to a shirt that’s too tight or too loose. Always double-check your measurements before cutting your fabric.
Mistake 2: Rushing the Process
DIY projects take time, and rushing can lead to mistakes. Take your time with each step, especially when sewing, to ensure a professional finish.
By avoiding these common mistakes, you’ll be well on your way to creating a flawless DIY referee shirt.
Benefits of DIY Referee Shirts
There are countless benefits to making your own referee shirt. Not only is it cost-effective, but it also allows you to express your creativity and individuality. Here are a few more reasons why DIY referee shirts are worth the effort:
Boosts Confidence
Wearing something you’ve made yourself can give you a huge confidence boost. Knowing that your shirt is unique and reflects your personal style can make you feel more empowered on the field.
Encourages Creativity
Crafting your own referee shirt is a great way to tap into your creative side. It’s a fun and rewarding activity that can lead to even more DIY projects in the future.
So, what are you waiting for? Get crafting and enjoy all the benefits that come with making your own referee shirt!
Conclusion
In conclusion, creating your own DIY referee shirt is a fantastic way to save money, express your creativity, and stand out on the field. By following the steps outlined in this guide, you can craft a custom-made uniform that’s as unique as you are.
So, what’s next? Grab your materials, fire up your sewing machine, and get ready to make something amazing. And don’t forget to share your creation with the world! Leave a comment below or tag us on social media—we’d love to see what you’ve made.
Happy crafting, and remember, the field is your canvas!
Table of Contents