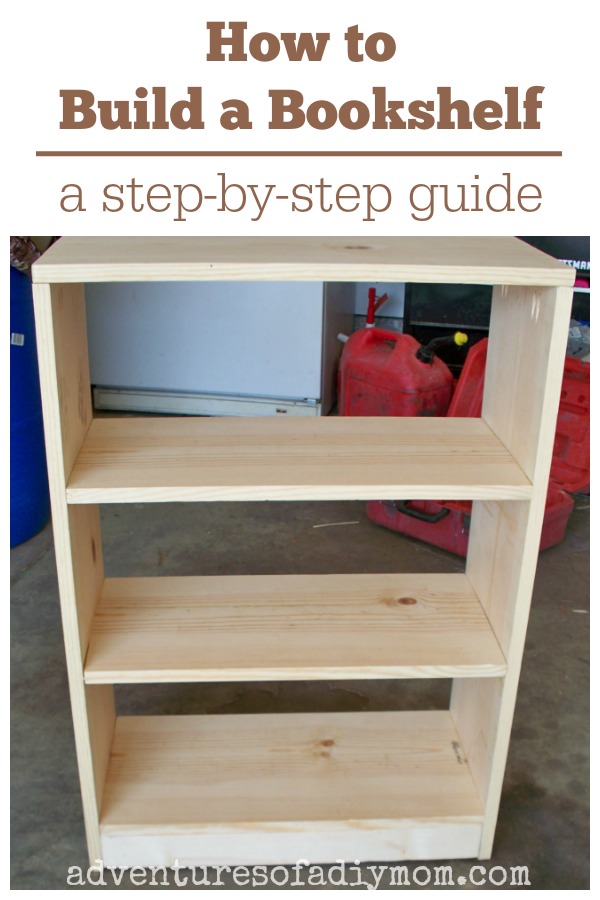
Are you ready to transform your space with a custom bookcase that fits your style and needs? Building your own bookcase is easier than you think, and it's a project that can add both function and flair to your home. Whether you're a seasoned DIYer or a complete beginner, this guide will walk you through every step of the process. Let's get started!
There’s something incredibly satisfying about creating something with your own two hands. When it comes to how to build your own bookcase, the process might seem daunting at first glance, but trust me—it’s doable. With the right tools, a clear plan, and a little patience, you can craft a bookcase that’s tailored to your exact preferences. Plus, it’s way cheaper than buying one from a store!
Before we dive into the nitty-gritty details, let me remind you that this isn’t just about shelves—it’s about building something that reflects your personality and enhances your living space. So, grab a cup of coffee (or tea if that’s your jam), and let’s explore how you can create a masterpiece for your home.
Read also:Securely Connect Remote Iot Vpc Raspberry Pi Download Free Your Ultimate Guide
Why Build Your Own Bookcase?
Let’s face it—store-bought bookcases are often generic and don’t always fit the unique dimensions of your room. By building your own, you get to customize everything from the size to the finish. Plus, it’s a great way to save money while learning some valuable skills. Here are a few reasons why crafting your own bookcase could be the perfect project for you:
- Customization: Design it exactly how you want it. Need extra-wide shelves for those oversized art books? No problem.
- Cost-Effective: Buying materials in bulk is almost always cheaper than purchasing a ready-made piece of furniture.
- Personal Satisfaction: There’s nothing quite like the pride of saying, "I made this!"
- Quality Control: You choose the best materials, ensuring durability and longevity.
What You’ll Need to Get Started
Before we dive into the steps, let’s talk about the tools and materials you’ll need. Don’t worry if you don’t have all of these on hand—you can rent most of them from your local hardware store.
Tools:
- Circular saw or handsaw
- Measuring tape
- Square
- Drill
- Screwdriver
- Sander
- Clamps
Materials:
- Lumber (typically 3/4" plywood or MDF)
- Wood glue
- Screws
- Wood filler
- Stain or paint (optional)
Step 1: Planning Your Bookcase
Planning is key when it comes to how to build your own bookcase. Take measurements of the space where you plan to place the bookcase, and sketch out a rough design. Consider the following:
- Height: How tall do you want your bookcase to be? Make sure it fits within your ceiling height.
- Width: Think about how much wall space you have available.
- Depth: Standard bookcase depth is around 12 inches, but you can adjust this based on your needs.
- Shelves: Decide how many shelves you want and how far apart they should be.
Once you’ve finalized your design, create a cut list for your materials. This will help you ensure you have everything you need before starting the project.
Read also:Remoteiot Vpc Review Raspberry Pi The Ultimate Guide For 2023
Tips for Planning
Here are a few tips to keep in mind while planning:
- Leave some space at the top for crown molding if you want a more finished look.
- Consider adding adjustable shelves for flexibility.
- Think about weight distribution—books are heavy, so make sure your structure is sturdy.
Step 2: Cutting the Wood
Now it’s time to cut your wood according to your measurements. Use a circular saw for straight cuts, or a handsaw if you prefer. Safety first, folks—wear goggles and gloves while working with power tools!
Here’s a breakdown of the cuts you’ll likely need:
- Sides: These will be the vertical pieces that form the sides of your bookcase.
- Top and Bottom: These horizontal pieces will connect the sides and provide stability.
- Shelves: Cut these to fit between the sides, making sure they’re level.
After cutting, sand all the edges to remove any rough spots. This will make assembly easier and prevent splinters.
Safety First
Remember, safety is crucial when working with power tools. Always:
- Wear protective gear, including goggles and gloves.
- Keep your workspace clean and organized.
- Read the manual for your tools before use.
Step 3: Assembling the Frame
With your pieces cut and sanded, it’s time to assemble the frame. Start by attaching the top and bottom pieces to the sides using wood glue and screws. Use clamps to hold everything in place while the glue dries.
Make sure everything is square and level as you go. A wobbly bookcase isn’t just annoying—it’s dangerous!
Adding the Shelves
Once the frame is assembled, it’s time to add the shelves. Use wood glue and screws to attach each shelf to the sides, making sure they’re level. If you’re using adjustable shelves, install shelf standards or brackets for support.
Step 4: Finishing Touches
With the basic structure complete, it’s time to add the finishing touches. Sand the entire bookcase again to smooth out any rough spots, then apply wood filler to fill in any gaps or holes.
Once the filler is dry, sand it down and wipe the surface clean. Now you’re ready to stain or paint your bookcase. Choose a finish that complements your decor—whether it’s a natural wood look or a bold color.
Optional Additions
Consider adding these optional features for a more polished look:
- Crown molding at the top
- Baseboard at the bottom
- Back panel for added stability
Step 5: Installing Your Bookcase
Finally, it’s time to install your bookcase. If it’s a tall unit, consider anchoring it to the wall for safety. Use L-brackets or French cleats for secure attachment.
Once it’s in place, load it up with your favorite books, decorative items, or whatever else you’d like to display. Congratulations—you’ve just built your own bookcase!
Tips for Installation
Here are a few tips to ensure a smooth installation:
- Use a level to ensure the bookcase is straight.
- Anchor it to the wall if it’s tall to prevent tipping.
- Consider adding non-slip pads to the feet for stability.
Common Mistakes to Avoid
Building your own bookcase is a rewarding project, but there are a few common mistakes to watch out for:
- Not measuring twice before cutting.
- Using cheap materials that won’t hold up over time.
- Skipping the sanding step, which can lead to splinters and an uneven finish.
- Not anchoring tall bookcases to the wall, which can be a safety hazard.
By avoiding these pitfalls, you’ll ensure a successful project that you can be proud of.
Conclusion
Building your own bookcase is a fun and rewarding DIY project that anyone can tackle with the right guidance. From planning and cutting to assembling and finishing, each step brings you closer to creating a piece of furniture that’s uniquely yours. Not only will it enhance your living space, but it’ll also give you a sense of accomplishment that money can’t buy.
So, what are you waiting for? Grab your tools, gather your materials, and let’s get building. And don’t forget to share your masterpiece with the world once it’s done! If you have any questions or need further assistance, feel free to leave a comment below. Happy building!
Table of Contents